
DOWNLOAD & PRINT my Sourdough Info Packet HERE.
This is an updated handout from a sourdough class I taught some church friends. It includes FAQ’s, starter care, my favorite recipes, troubleshooting, and SO much more.
SOURDOUGH STARTER FAQ’s & TIPS
First off, NAME your starter! It is alive and is your pet that needs to be fed and monitored. My starter is “Honey.”
There are multiple ways to FEED a starter.
- Keep adding to the same jar – 60 grams water (about ¼ cup), and 60 grams bread flour (about ½ cup) or any other amount in equal parts.
- Some say it’s the easy option.
- This method may eventually lead to a malnourished starter. (See tips for How to Boost a Starter below to fix this)
- You may end up with a lot of active starter to use up as it accumulates.
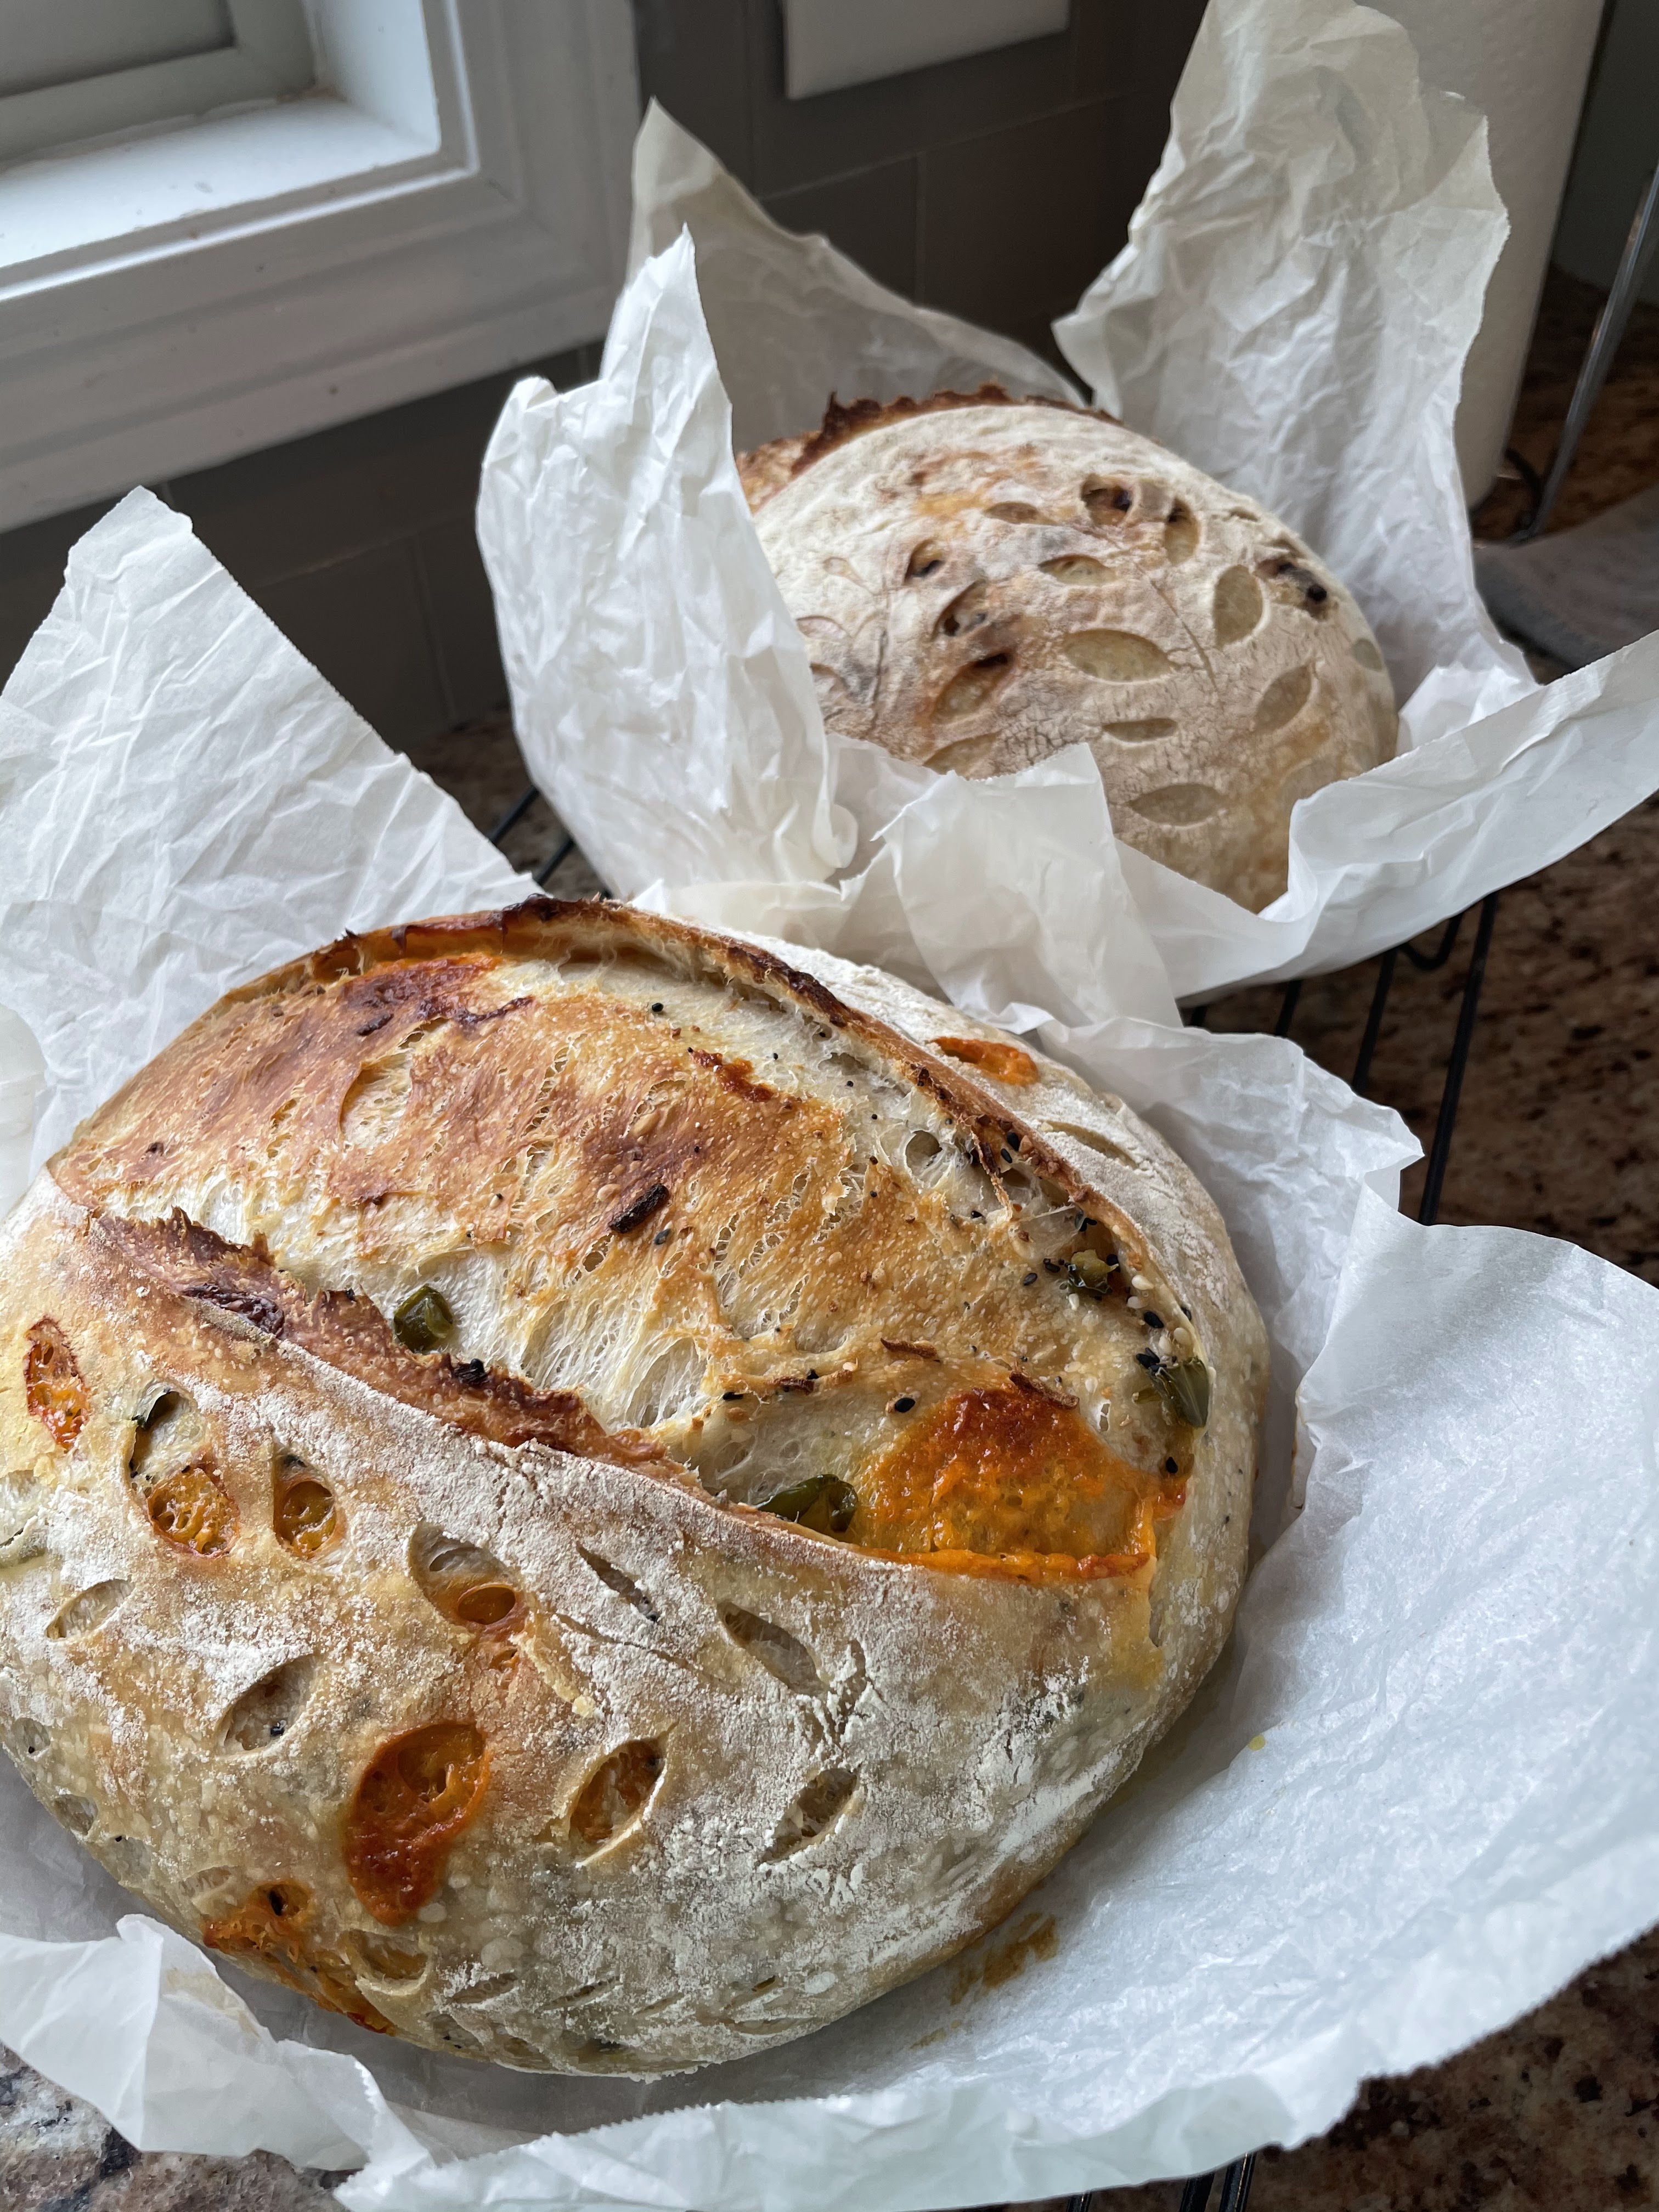
- Discard down to 10% of desired levain {PREFERRED METHOD} – Store discard in a jar in the fridge and use in discard recipes to add flavor and moisture – Use 10% starter, 50% bread flour or high protein all-purpose flour, 50% water. (For example 10 grams starter + 50 grams flour + 50 grams water)
- This can be more confusing with the math – but it is written into the loaf recipe, and you’ll get it.
- Produces the healthiest starter, because it is getting the food it needs (everyone gets 10 crackers rather than 1 or less).
- Less excess starter (less waste), by making only what you need and feeding a small pet.
- Discard is kept separately and can be stored in the refrigerator for weeks without adding more discard, or months if discard is added often.
There are multiple ways to STORE starter.
- Counter – Feed every day. Warmer weather may require feeding 2x a day. You can also let it go into shock a bit in the new season – it will adjust and still only need 1 feeding per day. Add less water for an extra thick starter to continue once per day feedings in the warm weather.
- Fridge – Store in the fridge to take a break from feedings. It is recommended to feed once a week, but starters have been left in the back of the fridge for months/years and still been able to bounce back! Don’t stress about it.
- Dehydrate – spread a thin layer of starter on parchment paper and let dry out, or dry in a dehydrator at 95 degrees (must be under 105 degrees to keep from killing it). Store in a cool, dry place. Dehydrated sourdough starter is rumored to store indefinitely in the freezer. This is a great option if you’d like a backup starter, will be taking a long break from baking, or if you want to ship some starter to a friend.
Signs of a HEALTHY STARTER
- Grows to about double or triple in size (within 6-12 hours). Domed top = ready to make bread.
- Bubbly all throughout the starter
- Floats when dropped in water (carefully scoop some out without disturbing the bubbles too much)
- Smells good (or not too acidic)
- Stretches away from the edges of the jar when tipped to the side
How to BOOST A STARTER, TROUBLESHOOTING & TIPS
- If the starter separates and a clear or dark liquid sits on top, it’s ok. Pour it off, or stir it in. This is called “hooch.” If there is any pink or mold, throw it out. The starter is no longer safe to consume.
- Use flour with protein higher than 12% (protein grams ÷ serving size grams = protein %).
- Add a little whole grain flour when feeding. This is not good for the long term, but can give a boost.
- Try using filtered water, or water that has been at room temperature overnight (uncovered) to remove chlorine if you’re having issues with rising.
- Feed twice a day if it’s not rising to double, or is warm in your house. Temperature affects your starter & dough (mostly environment; water temp a little). Warm rises faster – cool rises slower.
- Try leaving more than 10% starter in the jar for a feeding or two, OR to speed up the rise time.
- If using the “keep adding to the same jar” method, discard all but 10 grams and start again for a refresh once in a while as needed.
- Remember, sourdough starter is really hard to kill! You can do this!
- The fridge is your best friend in sourdough – if you ran out of time when mixing/rising, are too tired, or don’t want to keep feeding your starter FRIDGE IT! Let the fridge help you! When taking dough out of the fridge, just start where you left off. This can extend your bread process up to 2 days.
- Feed starter 1-2 times before using in a recipe after pulling out of the fridge.
- Sourdough is small amounts of work over long periods of time, it takes a little getting used to, but is actually really easy to fit into your life when you get the hang of it.
- In hot and humid weather you may need to decrease water amounts and decrease rise times in your recipe. Try less water in your starter for summer months to continue once per day feedings.
- If levain is started in the morning, dough can rise overnight. Mix dough in the evening, do the 4 “turns and folds”, then place the proofing bucket in a cooler with ice packs. It will be ready to shape in the morning. See the “Overnight Timeline Example” on page 9.
- Some say not to use metal utensils with sourdough. I wouldn’t ferment in a metal bowl, but I often use a metal spoon when stirring my starter and I dare say it might rise even better. Don’t stress too much about it … just something worth knowing.
- Turn & Folds work any time during the 1st rise/ bulk ferment. Every hour = great bread structure.
INGREDIENTS & TOOLS
Ingredients – Bread flour or *high protein all-purpose flour, whole grain flour (for the starter once in a while or for whole grain breads), coarse salt or sea salt (for best flavor), water (temperature effects rise time), starter … that’s it for basic ingredients! *Note: Use flour with a protein content higher than 12%
(protein grams ÷ serving size grams = protein %)
Needed Tools – heavy dutch oven pot, kitchen scale, parchment paper, pint-size jar for starter and quart-size jar for levain, bowl or food-grade bucket for mixing and fermenting dough.
Nice to have eventually tools – proofing basket (banneton) with cloth liner, bread scoring lame, food-grade proofing bucket with lid (plastic is easier to clean, because the dough flakes just fall out), 2-gallon Ziploc bags or large proofing bags (tortilla bags are actually large enough too), bowl scraper, bench scraper, turntable, food thermometer, brush for cleaning bannetons, another dutch oven.

HERE is my free SOURDOUGH PRINTABLE to add to your recipe book.
This is the updated handout I used for teaching a sourdough class. It includes so many notes, frequently asked questions, starter care information, favorite recipes, troubleshooting, and so much more!
